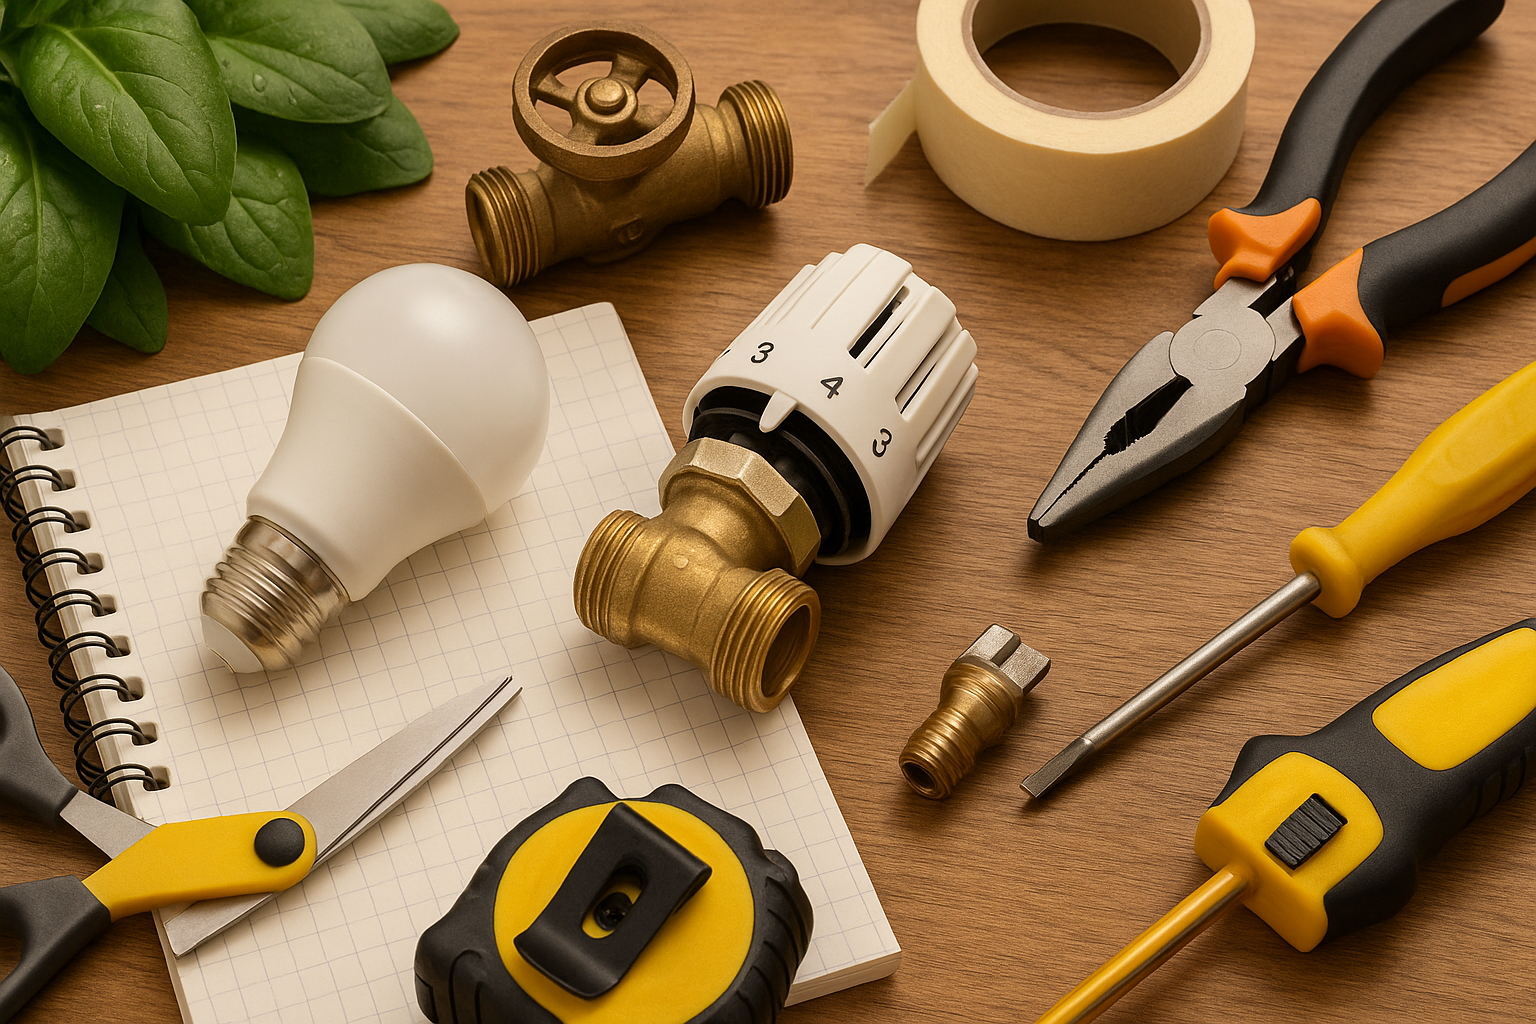
Reducing household expenses does not always require drastic lifestyle changes or expensive renovations. Many small DIY improvements can help you use less electricity, water, heating fuel, and disposable supplies while making your home more comfortable and efficient.
The best projects address recurring waste. A dripping faucet, drafty window, or inefficient light may seem minor, but the expense continues month after month. Start with projects that solve an obvious problem in your home, then use the potential savings to help fund future upgrades.
Before You Begin
Walk through your home and look for drafts, leaks, lights that stay on unnecessarily, and items you regularly replace. Check utility bills to identify seasonal changes and unusually high usage. Set a realistic budget, read product instructions, and shut off the electricity or water when required. Hire a qualified professional for work involving unsafe wiring, major plumbing changes, gas lines, or structural repairs.
Energy-Saving DIY Projects
1. Seal Drafts Around Windows and Doors
Air leaks force heating and cooling systems to work harder. Replace damaged weatherstripping around doors and operable windows, and apply appropriate caulk to stationary gaps around frames. For exterior openings, choose a weather-resistant product designed for the material and location.
Before sealing, clean and dry the surface so the new material adheres properly. Avoid blocking window drainage openings, combustion-air vents, or other intentional ventilation openings.
2. Make Reusable Window Insulation Panels
Removable window inserts can improve comfort around older or rarely used windows. Build lightweight frames that fit inside the trim, then cover them with clear shrink film or another suitable insulating material. Foam tape around each frame can create a snug fit without permanently altering the window.
Label each panel for easy seasonal storage. Make sure bedroom windows and required emergency exits remain accessible.
3. Upgrade Frequently Used Lights to LEDs
Replace incandescent bulbs in high-use areas with LEDs as the old bulbs burn out. Prioritize kitchens, living rooms, porches, and other spaces where lights remain on for long periods. Match each bulb to the fixture, considering brightness, base size, dimmer compatibility, and its rating for enclosed fixtures.
4. Install a Programmable or Smart Thermostat
A programmable thermostat can automatically reduce unnecessary heating or cooling while household members are asleep or away. Before buying one, confirm that it is compatible with your HVAC equipment and existing wiring.
Use moderate temperature adjustments rather than extreme settings. Heat pumps and some multistage systems may require specialized controls or professional installation.
5. Add Insulation to an Accessible Attic Hatch
An uninsulated attic hatch can allow conditioned air to escape. Attach rigid foam insulation to the attic side of the panel with a compatible adhesive, then add weatherstripping around the opening. Keep insulation away from heat-producing fixtures and maintain all required clearances.
6. Build a Laundry Drying Rack
A wall-mounted or freestanding drying rack can reduce dryer use and provide a gentler drying option for delicate clothing. Build one from smooth wooden dowels and a simple frame, or repurpose a sturdy folding rack. Place it in a well-ventilated area where dripping water will not damage the flooring.
Air-drying some loads can also reduce fabric wear, helping clothes last longer.
Water-Saving DIY Projects
7. Repair a Leaking Faucet
A faucet that drips after being turned off often needs a new washer, cartridge, O-ring, or valve component. Identify the faucet model before purchasing parts. Shut off the water supply, cover the drain, and photograph each step of the disassembly process to make reassembly easier.
If the fittings are corroded or the leak continues, call a plumber rather than forcing the components.
8. Fix a Running Toilet
A toilet that runs intermittently may have a worn flapper, an incorrect float setting, a tangled chain, or a failing fill valve. Add a few drops of food coloring to the tank and wait without flushing. If color appears in the bowl, water may be leaking past the flapper.
Many internal parts are inexpensive and can be replaced with basic tools. Purchase components that match the toilet's design.
9. Install Faucet Aerators and a Low-Flow Showerhead
Aerators and efficient showerheads can reduce water use while maintaining a practical spray. Unscrew the existing fixture, remove mineral buildup, and install the replacement according to the manufacturer's directions. Use thread-sealing tape only when recommended, and check for leaks after turning the water back on.
10. Create a Rain Barrel System
A rain barrel can collect roof runoff for ornamental plants and other appropriate outdoor uses. Use a durable, covered container with a screened inlet, a secure base, an accessible spigot, and an overflow hose that directs excess water away from the foundation.
Review local rules before installation. Never leave an open container that could create a drowning or mosquito hazard, and do not assume that collected roof water is safe to drink.
Projects That Reduce Supply and Maintenance Costs
11. Build a Basic Compost Bin
Turn suitable kitchen scraps and yard debris into compost for garden beds. A simple bin can be made from untreated wood, wire mesh, or a repurposed lidded container with ventilation holes. Combine food scraps with dry materials such as leaves or shredded plain cardboard.
Avoid adding meat, dairy products, grease, pet waste, diseased plants, or materials treated with chemicals not intended for composting.
12. Make Reusable Cleaning Cloths
Cut worn cotton T-shirts, towels, or flannel sheets into cleaning cloths. Hem fraying edges if desired, then store the clean cloths in a labeled basket. Use different colors for kitchens, bathrooms, and general dusting to help prevent cross-contamination.
Wash heavily soiled cloths separately and follow safe handling practices for any cleaning products used with them.
13. Sew Reusable Food Covers
Fabric bowl covers can replace some single-use wraps for short-term refrigerator storage. Cut washable fabric slightly larger than the bowl, finish the edge, and sew elastic around the perimeter. Make several sizes to fit frequently used containers.
These covers are not airtight and are not suitable for every type of food. Use sealed containers when food safety, leakage, or odor control is a concern.
14. Install a Clothesline
A properly placed clothesline provides more drying capacity than a small indoor rack. Install posts or mounting hardware in a sunny, well-ventilated location, keeping the line away from roads, trees that drop sap, and overhead utility wires. Check local rules or neighborhood restrictions before starting.
Use weather-resistant hardware and anchor the supports securely so the weight of wet laundry does not overload the line.
15. Build Adjustable Storage Shelves
Organized storage can help prevent duplicate purchases and protect bulk supplies from damage. Build shelves in a pantry, utility room, or garage using materials rated for the expected load. Adjustable shelf tracks make it easier to accommodate containers of different sizes.
Keep food in sealed, labeled containers and rotate older items to the front. Anchor tall shelving to wall studs, distribute weight evenly, and store heavy objects on lower shelves.
Getting the Most From Your DIY Upgrades
Track the cost of each project and note changes in comfort, maintenance needs, or utility use. Not every improvement will produce immediate or easily measured savings, but projects that prevent waste can continue to provide value over time.
Begin with a low-cost repair, such as replacing weatherstripping or fixing a running toilet. Once that task is complete, move on to the next clear source of waste. A series of practical, well-maintained upgrades is usually more manageable than attempting an expensive whole-house overhaul all at once.